Let’s be real. Some days, your Spanish class lesson plan is rock solid—beautiful slides, interactive games, and a fresh stack of comprehensible input activities ready to go. And then there are those other days—days when your projector won’t turn on, a mysterious smell is wafting from someone’s backpack, and you have exactly three minutes to figure out what to teach.
Enter: Picture Talk. 🎨
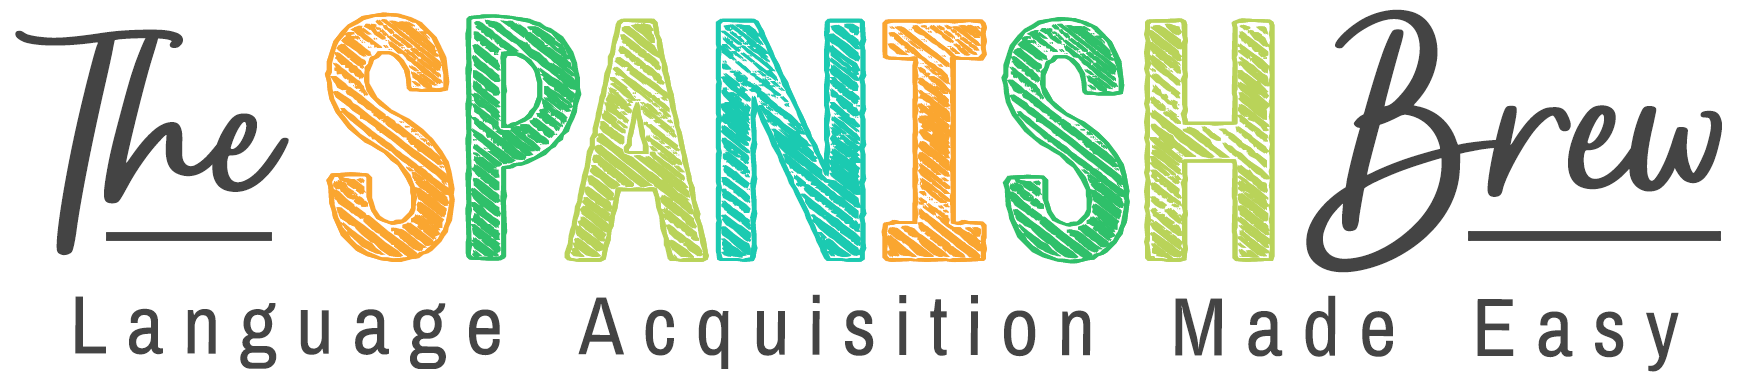
Picture Talk is like the cool cousin of Movie Talk—except instead of using a video clip, you use a striking image, often from an authentic artist from a Spanish-speaking country, to spark conversation, deliver high-frequency vocab, and keep your class in the target language with almost zero prep.
It’s the great opportunity you didn’t know you needed.
Why Picture Talk Works (Even With Novice Learners)
Whether you’re teaching novice learners or just trying to survive your fifth period with 10th graders after lunch, Picture Talk delivers big wins. You get:
- Tons of input in the target language
- Built-in cultural learning through authentic resources
- Student engagement without a full lesson plan rewrite
- And yes, your students might even gasp remember the Spanish words you teach them
The Secret Sauce: Picture Talk + Authentic Artists
Now here’s where it gets exciting. Instead of using random stock photos, try introducing real artists from the Spanish-speaking world. Students get to experience the visual arts and culture from different Spanish-speaking countries while reinforcing vocabulary and grammar naturally.
Here’s a step-by-step lesson plan that works whether you teach middle school, high school, or somewhere in between:
1. Give a Brief Intro to the Artist
Don’t overthink it. A quick slide or short paragraph is plenty. Let them know where the artist is from, what their style is, and maybe throw in a fun fact (like “this artist once painted with avocado”).
That’s your prior knowledge spark.
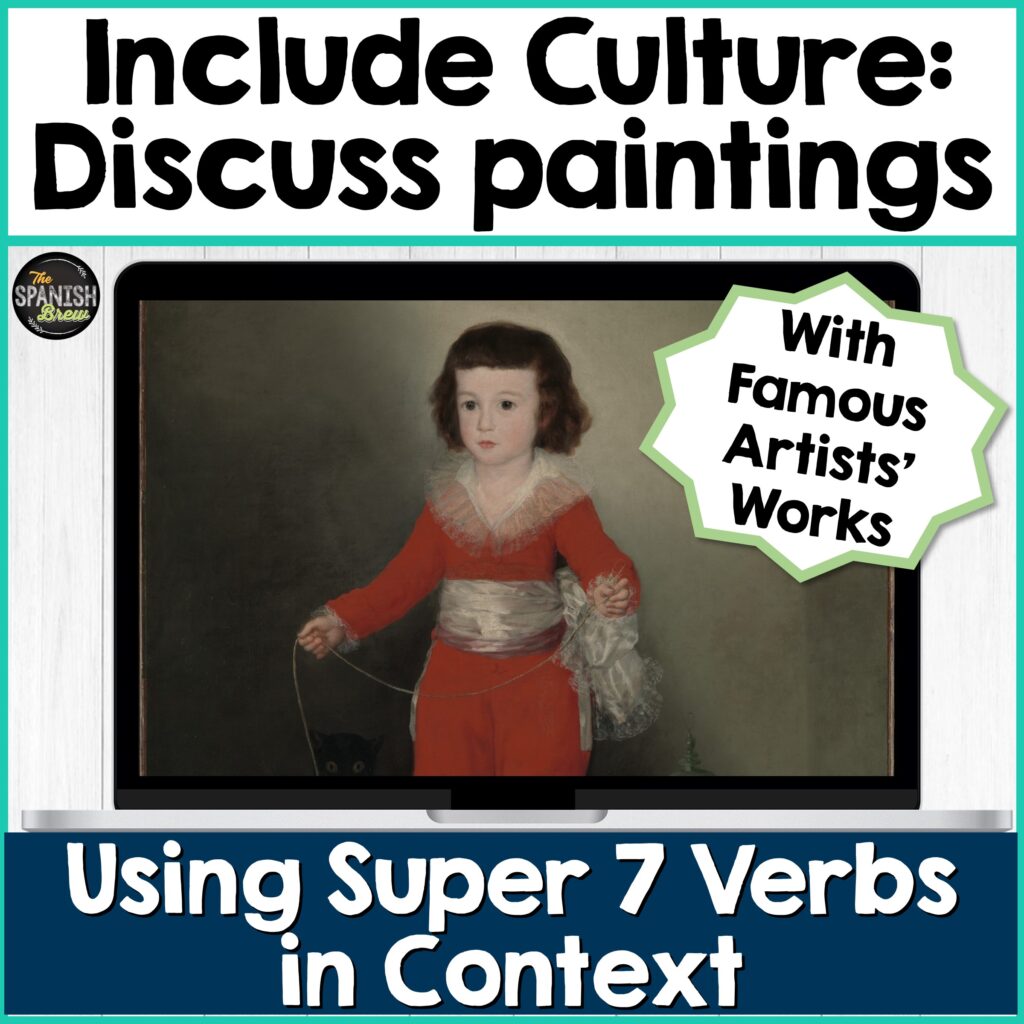
2. Run the No-Prep Picture Talk Activity
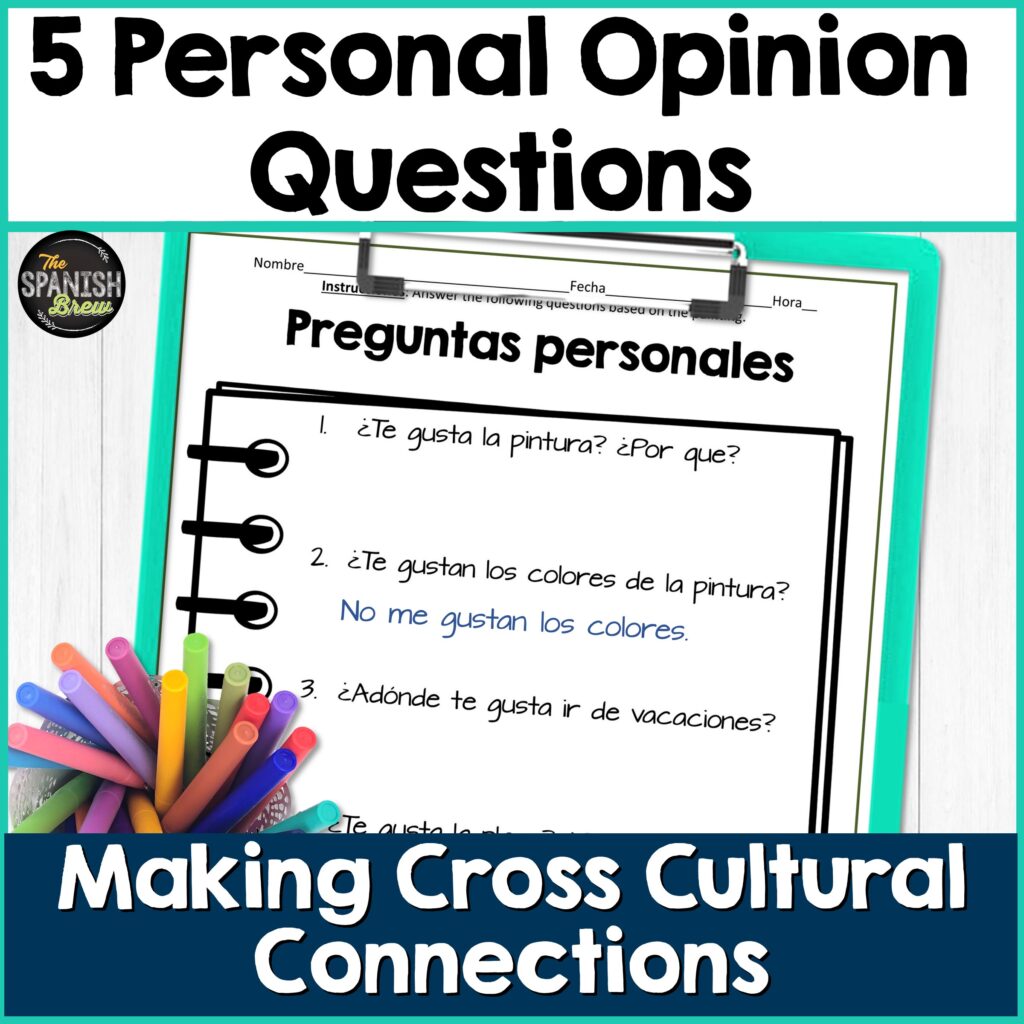
👉 Grab this Spanish Picture Talk No Prep Worksheets with High-Frequency Verbs and boom—you’re ready.
This resource includes ready-to-go images and questions that help you guide whole-class conversation using high-frequency vocabulary in the present tense. (But you can tweak it for other tenses if you want to get spicy.) That’s right, you don’t even have to think up “what questions would I ask about this painting?” because they’re already included! And they use the Spanish high-frequency verbs.
You’ll be amazed how many students speak up when you give them a visual cue to anchor the conversation.
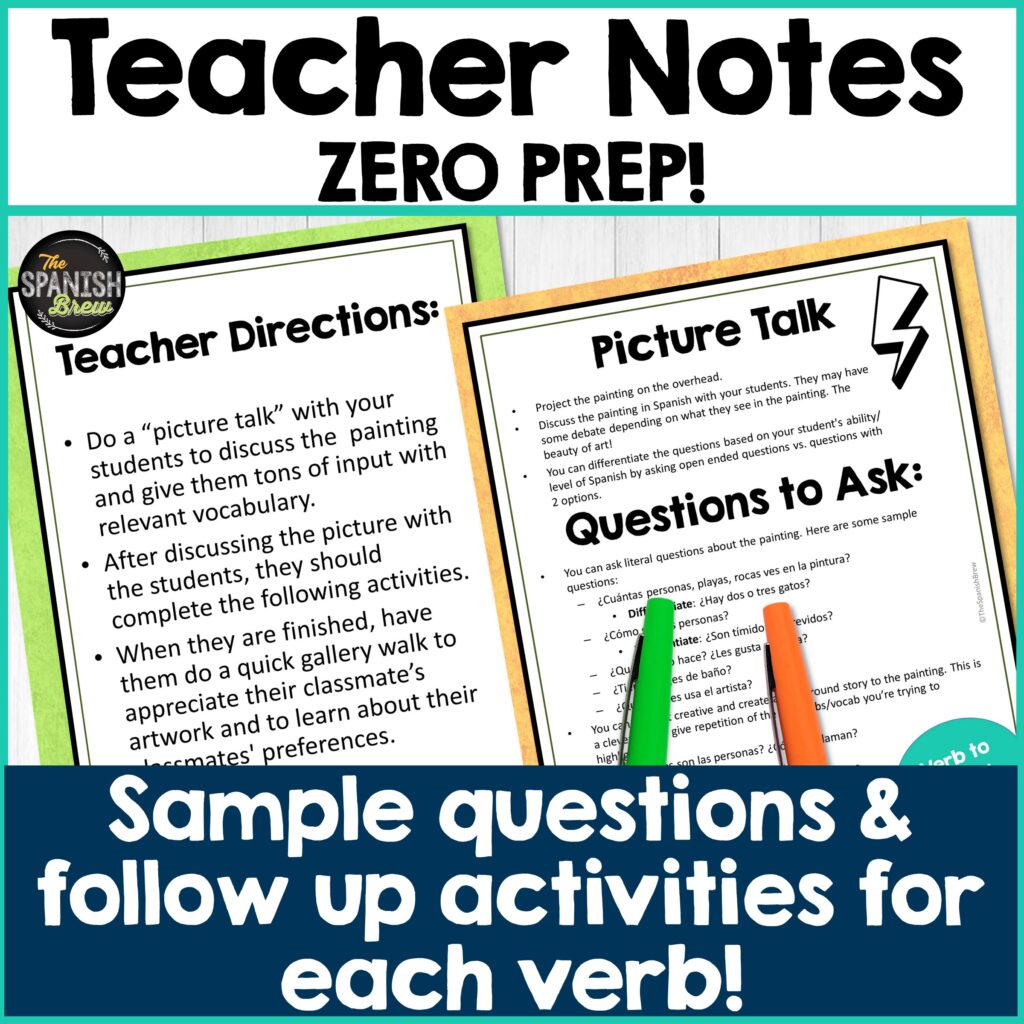
3. Students Complete the Comprehension Activities
Now that they’ve listened and discussed, let them show what they know. The included comprehension activities help reinforce:
- Spanish verbs
- Key vocabulary
- Reading and listening skills
- And, let’s be honest, they’re a great way to sneak in comprehension questions without killing the vibe
4. Create Your Own Drawing in the Artist’s Style
This part is pure magic. Students channel what they’ve learned and make their own art inspired by the artist’s technique or style. This checks so many boxes:
✅ Creativity
✅ Cultural understanding
✅ Language output
✅ Student engagement
Pro tip: Hang these in the hallway and suddenly your admin thinks you’re a genius.
5. Extension Activity: Write a Short Paragraph
Have students write a short paragraph in the target language describing their artwork. They can include:
- What inspired them
- What elements they used
- A quick “story” about the picture
This is a perfect, easy way to get them using their Spanish lesson vocab again in a personalized, low-pressure setting.
BONUS: Tips for Using Picture Talk in Your Own Classroom
Here are a few quick wins from teachers (and some from my own experience):
💡 Use an Interactive Whiteboard
Project the image and circle the vocabulary right on the screen. This makes it accessible and visual for all levels of learners.
💡 Pair with a Word Wall
Reinforce target vocabulary by adding words from the Picture Talk to your classroom word wall. Keep the foundation of the most often used words visible all year!
💡 Use Small Groups or Partners
After whole-class discussion, have students discuss in small groups or write questions for a classmate about the picture. This encourages output and builds confidence in using Spanish words with peers.
💡 Reinforce with Social Media-Style Prompts
Ask students to write a caption for the picture like it’s a post on Instagram or TikTok. “What would this painting say if it could post?” is both hilarious and effective for language acquisition. A perfect way to use this activity with upper-level students.
Why Picture Talk is a Game Changer
- ✅ Works with novice learners and advanced students
- ✅ Keeps you in the target language the whole class period
- ✅ Integrates authentic resources naturally
- ✅ Requires almost no prep
- ✅ Works for next day, emergency, or planned lessons
- ✅ You can reuse the same images in different ways
This might be the perfect size lesson for those “what are we doing today?” days. (Hint: Picture Talk!)
Final Thoughts: From “What Do I Teach?” to “Look What They Created!”
Picture Talk turns a regular day into an immersive experience—and your Spanish students won’t even realize how much they’re learning. It’s a great way to bring in culture, spark creativity, and boost language skills without needing a slideshow, a backup plan, or even a cup of coffee (well, okay, you still need the coffee ☕).
Whether it’s your first time trying comprehensible input strategies or you’re a seasoned CI wizard, this Picture Talk strategy is a blog post–worthy addition to your Spanish class toolbox.
Ready to make Picture Talk your new go-to? Check out the no-prep resource here:
👉 Spanish Picture Talk No Prep Worksheets with High-Frequency Verbs
Your future self (and your students) will thank you.

Related Posts:
4 Amazing Activities to Extend Picture Talk & Reduce Lesson Planning
Picture talk: Out with Old Grammar Charts & in with Comprehensible Input
How to Use a Picture Talk Activity to Reinforce Spanish Vocabulary

No Comments